Alright, let's talk stucco installation. Maybe you're building new, or perhaps you're finally getting rid of that old siding that's seen much better days. Whatever the reason, you're looking at stucco, and that's a smart move for a lot of homes here in Norwalk. It's tough, looks great, and with our warm, sunny weather, it holds up really well.
Before You Even Think About Stucco
Before any work starts, you've got to do some homework. The biggest thing is understanding the scope of the project. Are we talking about a small patch job, or a full re-stucco of your whole house? A small patch? Yeah, you might be able to tackle that if you're handy and patient. A whole house, though? That's a different ballgame entirely.
First, think about permits. For any significant exterior work in Norwalk, you're likely going to need one. Don't skip this step; the city doesn't mess around, and you certainly don't want to get hit with fines or have to tear down work you've already done. Check with the Norwalk Planning Department to see what's required for your specific project. It's usually pretty straightforward, but it's a necessary hurdle, isn't it?
Next, understand your existing structure. What's underneath? If you're replacing old stucco, what condition is the sheathing in? Are there any moisture issues? This is where a professional really shines. We can spot problems you might miss, like dry rot or termite damage, that absolutely need to be addressed before any new stucco goes on. You don't want to just cover up existing issues; that's a recipe for disaster down the road.
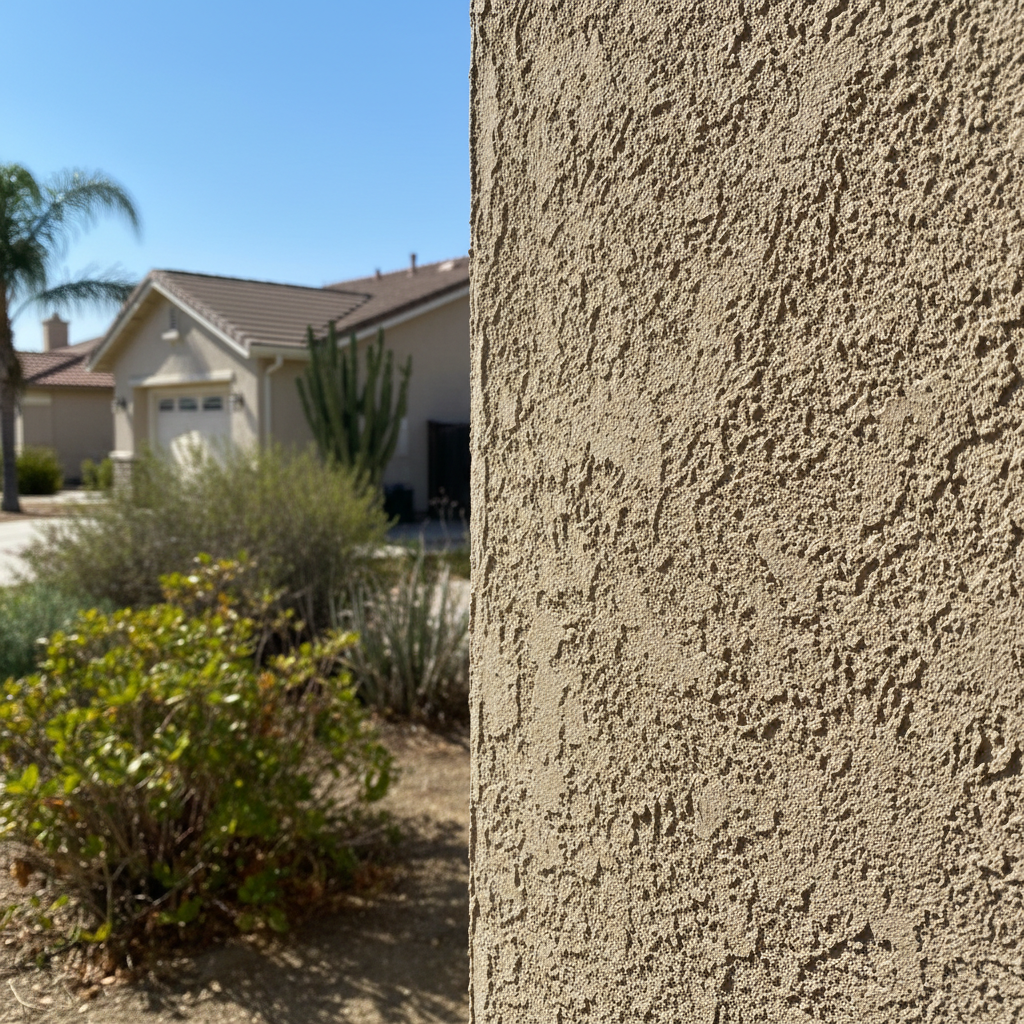
During the Stucco Installation
This is where the rubber meets the road, and honestly, this is where most homeowners should seriously think about bringing in a pro like Norwalk Stucco & Plastering. Stucco isn't just slapping mud on a wall; it's a multi-layered system that needs to be done right to protect your home.
Here's a quick rundown of what a proper stucco job involves:
- Sheathing Inspection & Prep: Making sure the surface is clean, dry, and structurally sound.
- Moisture Barrier: This is critical, especially in areas where water could get in. We usually use two layers of Grade D building paper or a synthetic equivalent. This is your home's first line of defense against water.
- Flashing: Around windows, doors, and other openings. Improper flashing is a huge cause of stucco failures and water damage. This isn't something you want to guess at.
- Lath Installation: Metal lath (chicken wire or expanded metal) is attached over the moisture barrier. This gives the stucco something to grab onto. It needs to be securely fastened and overlapped correctly.
- Scratch Coat: The first layer of cement-based plaster. It's literally scratched to provide a mechanical key for the next layer.
- Brown Coat: The second layer, applied over the scratch coat, which is then leveled and smoothed. This is where the wall really starts to take shape and become plumb and true.
- Finish Coat: This is the top layer, where you get your color and texture. There are tons of options here, from smooth to sand finish to dash. This is what everyone sees, so it needs to be perfect.
Each one of these steps requires specific materials, mixing ratios, and application techniques. If you've never done it before, it's incredibly easy to make mistakes that compromise the integrity of the whole system. For example, getting the mix wrong can lead to cracking or poor adhesion. Not overlapping the paper correctly can create pathways for water. Trying to do a whole house yourself can take weeks, even months, and you'll likely end up with an inconsistent finish.
After the Stucco is On
Once the stucco is applied, it needs time to cure properly. This isn't just about drying; it's a chemical process that strengthens the material. We'll often keep the stucco damp for a few days, especially when it's hot and dry like it gets here in the summer. Don't rush this part. Proper curing is essential for durability and preventing cracks.
After it's fully cured, you'll want to inspect it regularly. Look for any hairline cracks, especially around openings like windows and doors. While some minor cracking is normal over time due to settling, significant cracks can indicate a bigger issue. Keep an eye out for any discoloration or staining, which could signal water intrusion.
Maintenance is pretty straightforward. A good cleaning every few years with a soft brush and mild detergent can keep it looking fresh. If you notice any small holes or chips, address them quickly to prevent water from getting in. For anything more than a tiny patch, or if you're seeing widespread issues, that's definitely the time to call us. We can assess the damage and recommend the best course of action, whether it's a repair or a full re-stucco.
Look, I get it. Homeowners want to save money, and sometimes DIY makes sense. But for something as critical as your home's exterior envelope, especially with stucco's complex layering, trying to save a buck upfront often costs you a lot more down the line. You're not just buying a pretty finish; you're investing in protection for your biggest asset.